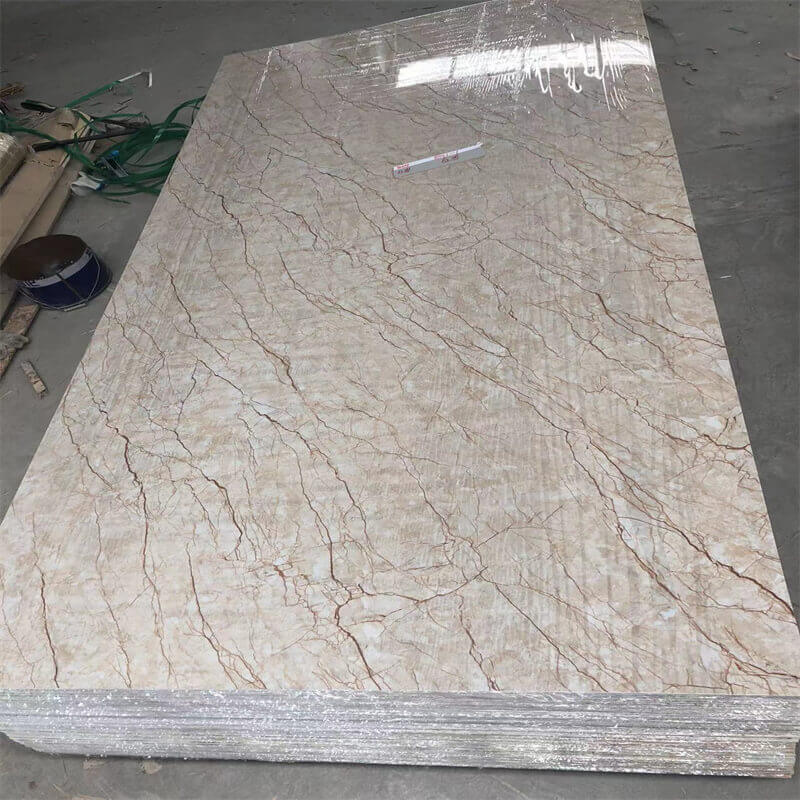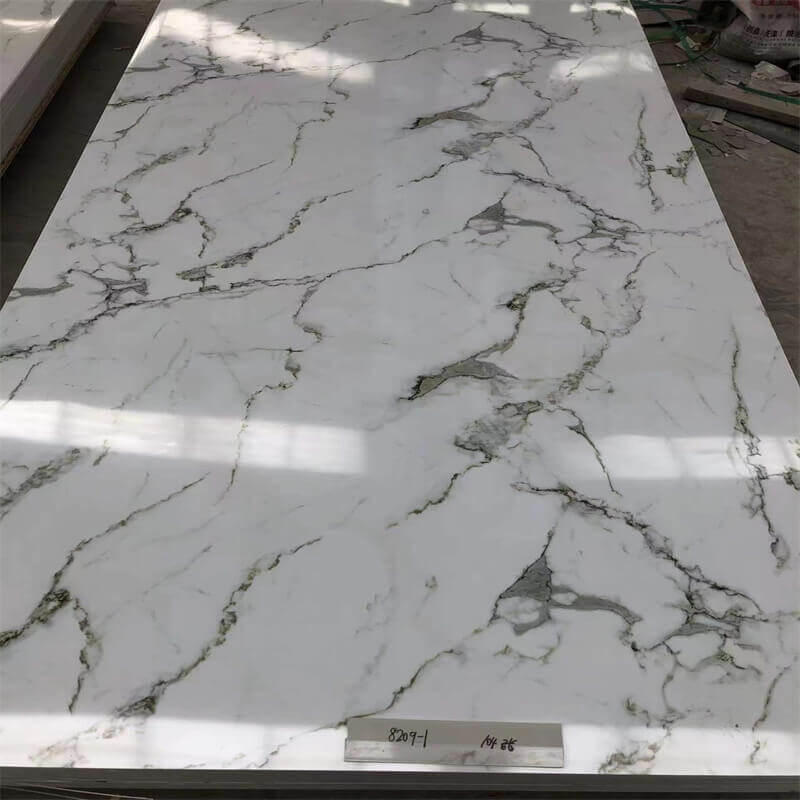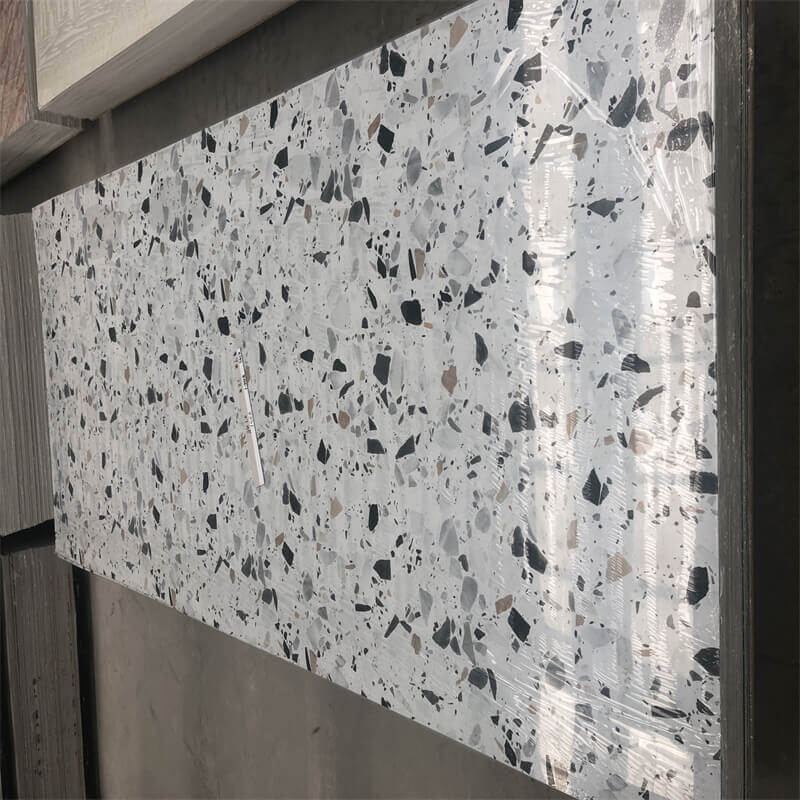
When it comes to bathroom renovations, one element that can make a significant impact is the ceiling.
PVC ceiling panels offer an excellent solution for upgrading your bathroom’s aesthetics and functionality.
With their moisture resistance, durability, and versatility, PVC ceiling panels have become a popular choice.
In this article, we will provide a step-by-step installation guide to help you easily install PVC ceiling panels in your bathroom.
We will cover the necessary tools, preparation steps, installation process, and tips for finding reliable manufacturers and suppliers for your PVC ceiling panels.
I.Tools and Materials for Installation:
Before beginning the installation process, gather the necessary tools and materials.
Here is a list of commonly used items for installing PVC ceiling panels:
PVC ceiling panels (measured and cut to fit your bathroom dimensions)
Measuring tape
Utility knife or fine-toothed saw
Adhesive or nails (depending on the installation method)
Construction adhesive or panel adhesive
Caulk gun
Level
Screwdriver or drill (if using screws)
Paint roller or brush (for adhesive application)
Protective gloves and safety goggles
Ensure you have all the tools and materials ready before starting the installation process to facilitate a smooth and efficient workflow.

II. Preparation Steps:
Before installing PVC ceiling panels, it is crucial to prepare the surface properly.
Follow these steps:
Clean the ceiling: Remove any existing materials, such as old paint or wallpaper, from the ceiling surface.
Ensure the surface is clean and free from debris, dust, and grease.
Inspect for damage: Check the ceiling for any structural damage or cracks.
Repair any issues before proceeding with the installation to ensure a solid and even surface for the PVC panels.
Measure and cut the panels: Measure the dimensions of your bathroom ceiling accurately.
Mark the measurements on the PVC panels and use a utility knife or fine-toothed saw to cut the panels to fit the dimensions of your ceiling.
III. Installation Process:
Follow these steps for the installation of PVC ceiling panels:
Apply adhesive: Using a caulk gun, apply construction adhesive or panel adhesive to the back of the first PVC panel.
Apply the adhesive in vertical lines or dots, ensuring sufficient coverage to create a strong bond.
Position the panel: Carefully place the adhesive-covered panel on the ceiling, aligning it with the marked guidelines.
Press the panel firmly against the ceiling, ensuring it is level and flush with the adjacent walls.
Secure the panel: If using nails or screws, insert them through the pre-drilled holes in the panel and into the ceiling joists.
If using adhesive, press the panel against the ceiling and hold it in place for a few seconds to allow the adhesive to bond.
Continue with the remaining panels: Repeat the adhesive application and installation process for each subsequent panel, ensuring they fit tightly together without gaps or overlaps.
Use a level to ensure the panels are installed straight and aligned.
Cut panels to fit: As you reach the edges or corners of the ceiling, you may need to cut the panels to fit properly.
Measure the required dimensions, mark the panels accordingly, and use a utility knife or fine-toothed saw to make precise cuts.
Apply caulk or trim: After installing all the PVC panels, apply caulk along the seams and edges to create a seamless and finished look.
Alternatively, you can use decorative trim to cover the panel edges for a polished appearance.

IV. Finding Reliable Manufacturers and Suppliers:
To ensure the quality and authenticity of your PVC ceiling panels, it is essential to source them from reliable manufacturers and suppliers.
Here are some tips for finding trusted sources:
Research reputable manufacturers: Look for manufacturers with a proven track record of producing high-quality PVC ceiling panels.
Check their certifications, customer reviews, and industry reputation to assess their reliability.
Seek recommendations: Ask for recommendations from friends, family, or professionals who have previously installed PVC ceiling panels.
Their experiences and insights can guide you to reliable manufacturers and suppliers.
Compare prices and warranties: Obtain quotes from different suppliers and compare their prices.
Ensure that the price includes the necessary accessories, such as adhesives or trim.
Additionally, check for warranties on the PVC ceiling panels to ensure their long-term durability.
Read customer reviews: Online platforms and review websites provide valuable feedback from customers who have purchased from specific manufacturers or suppliers.
Read their reviews to gain insights into the product quality, customer service, and overall satisfaction.
Installing PVC ceiling panels in your bathroom can transform the space, enhancing its aesthetics and functionality.
By following the easy installation guide outlined in this article, you can achieve a professional-looking result.
Remember to gather the necessary tools, prepare the surface properly, and carefully install the PVC panels.
Additionally, sourcing your PVC ceiling panels from reliable manufacturers and suppliers ensures the quality and authenticity of the product.
Enjoy the benefits of a beautiful and durable bathroom ceiling with PVC panels, and relish in the satisfaction of a successful DIY installation project.
