
Installing a PVC (polyvinyl chloride) ceiling in your bathroom can be a transformative and practical home improvement project.
PVC ceilings are known for their beauty, durability, and low maintenance, making them an excellent choice for modern bathrooms.
If you’re considering this DIY project, this comprehensive guide will provide you with essential tips and techniques to ensure a successful and hassle-free installation process.
Before you embark on the journey of installing a PVC bathroom ceiling, it’s crucial to familiarize yourself with the necessary tools, materials, and step-by-step procedures.
Whether you’re a seasoned DIY enthusiast or a novice looking to tackle your first major home improvement project,
this guide will equip you with the knowledge and confidence to achieve a professional-looking PVC ceiling installation.
Preparing for Installation: Tools and Materials
Before you start installing the PVC ceiling, it’s vital to gather all the necessary tools and materials to ensure a smooth and efficient process.
Here’s a comprehensive list of what you’ll need:
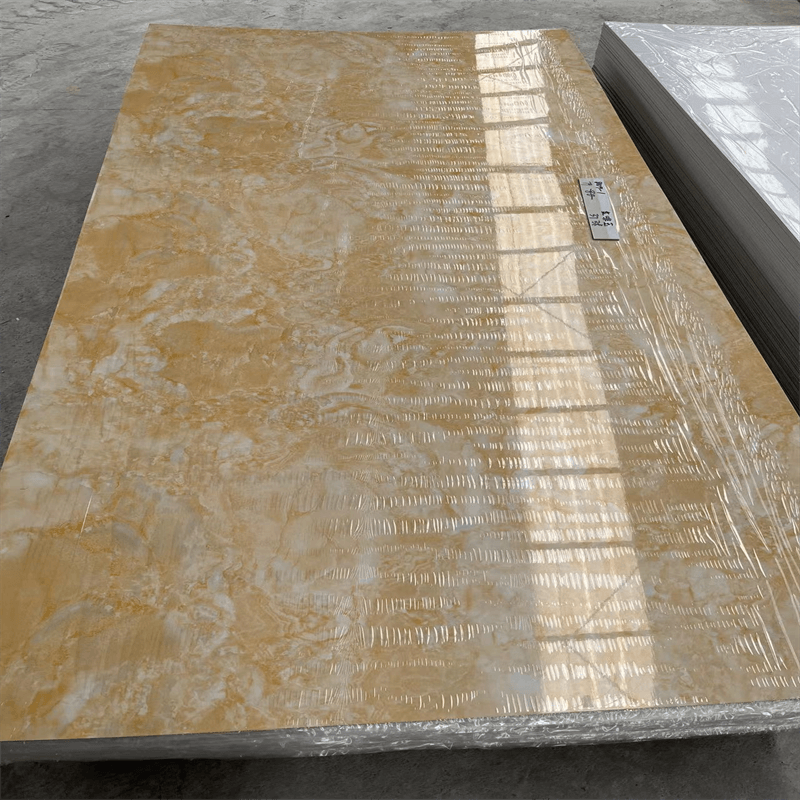
PVC Ceiling Panels: Measure your bathroom’s dimensions to determine the quantity of panels required.
Consider purchasing a few extra panels for mistakes or future replacements.
PVC Ceiling Trims: These trims will be used to create clean and finished edges for the ceiling panels.
Measuring Tape and Pencil: Accurate measurements are essential for a precise fit.
Saw or PVC Cutter: You’ll need a saw or PVC cutter to trim the panels to the required size.
Adhesive: Choose a waterproof adhesive suitable for PVC panels.
Nails and Hammer: For additional support and to secure the trims in place.
Ladder or Scaffolding: Depending on the height of your ceiling,
a ladder or scaffolding will be necessary for safe access to the installation area.
Safety Gear: Wear safety goggles and gloves to protect yourself during the installation process.

Step-by-Step Installation Process
Before installing the PVC panels, ensure that the existing ceiling is clean, dry, and free from any dust or debris.
Remove any fixtures, lighting, or other obstacles that might hinder the installation process.
Measure the dimensions of the bathroom ceiling accurately and mark the measurements on the PVC panels.
Use a saw or PVC cutter to cut the panels to the desired size.
It’s essential to cut the panels precisely to achieve a seamless fit.
Apply a waterproof adhesive to the back of the PVC panels.
Follow the manufacturer’s instructions for the proper application technique.
Start from one corner of the bathroom and work your way across the ceiling.
Gently press the adhesive-coated side of the panel onto the ceiling, aligning it with the marked guidelines.
Use a level to ensure that the panel is installed evenly.
Continue adding panels until the entire ceiling is covered.
Once all the panels are in place, install the PVC ceiling trims along the edges to create a finished look.
Secure the trims using adhesive or nails, depending on the type of trim you have.
Inspect the entire installation to ensure that all panels are securely in place.
Make any necessary adjustments or reapply adhesive if needed.
Tips and Techniques for a Professional Installation
Before installation, allow the PVC panels to acclimate to the bathroom’s temperature and humidity for at least 24 hours.
This prevents the panels from warping or expanding after installation.
Select a high-quality, waterproof adhesive specifically designed for PVC panels.
It should provide a strong bond and resist moisture.
To ensure accurate and straight cuts, consider using a jig or guide with your saw or PVC cutter.
This will help you achieve precise cuts and avoid wastage.
Inspect each panel before installation to ensure there are no visible defects or damages.
This will save you time and effort later.
Always prioritize safety during the installation process.
Use proper safety gear, work on a stable platform, and avoid rushing the job.
Maintenance and Care for PVC Ceilings
Once your PVC bathroom ceiling is installed, proper maintenance is essential to ensure its longevity and pristine appearance.
PVC ceilings are inherently low maintenance, but a few simple steps can keep them looking their best:
Wipe down the PVC ceiling regularly with a soft cloth or sponge and a mild soap solution to remove any dust or dirt buildup.
Refrain from using abrasive or harsh cleaning agents that may damage the PVC surface.
Periodically inspect your bathroom ceiling for any signs of water leaks or seepage.
Addressing leaks promptly can prevent damage to the PVC panels.
If you notice any damaged panels or trims, repair or replace them as soon as possible to maintain the integrity of the ceiling.
Installing a PVC bathroom ceiling can be a rewarding and practical DIY project, offering beauty, durability, and low maintenance for your space.
By gathering the necessary tools and materials and following the step-by-step installation process, you can achieve a professional-looking result.
Remember to prioritize safety, acclimate the panels, and choose the right adhesive for a successful installation.
Once your PVC bathroom ceiling is in place, proper maintenance and care will ensure it continues to enhance your bathroom’s aesthetics for years to come.
By following the tips and techniques outlined in this guide,
you can confidently take on the project and enjoy the benefits of a stunning and long-lasting PVC bathroom ceiling.